
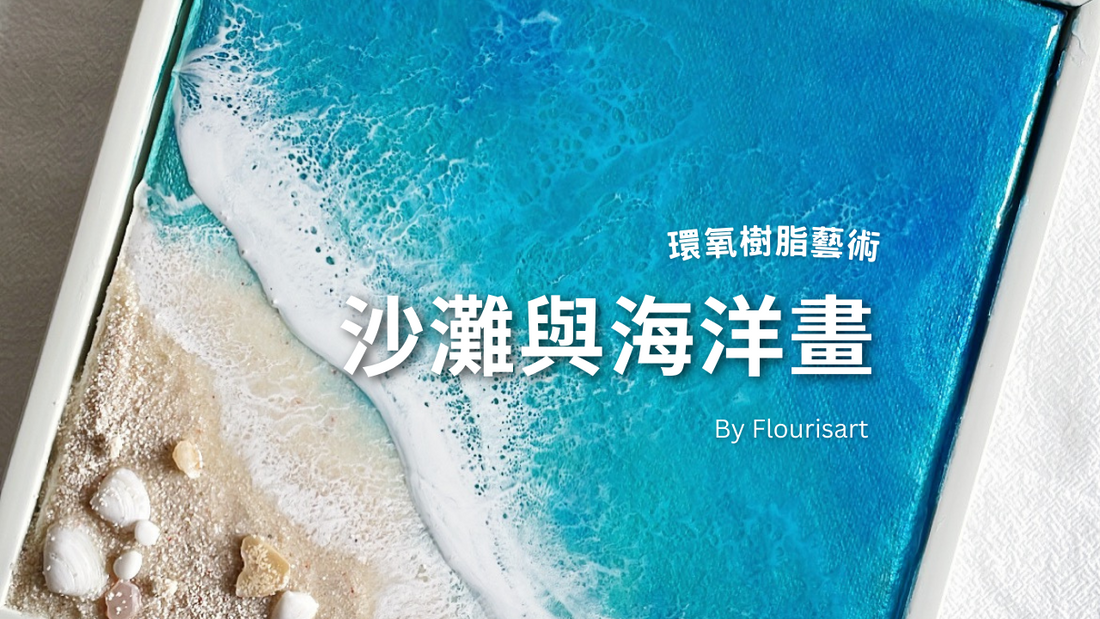
今天我要跟大家分享如何利用環氧樹脂在油畫框上創作出超療愈又好看的海洋和沙灘景象。這不僅是一種放鬆心情和療愈心靈的創作過程,更是一個簡單易學的方法。Hello 我是Vicky 無需昂貴的材料或專業技能,只要按照這篇指南,你也能輕鬆做出自己的藝術作品。那麼,Let's go!
Today, I'm excited to share how to use epoxy resin to create stunning ocean and beach scenes on a canvas. This process is not only an exciting artistic endeavor but also a wonderfully therapeutic activity. Hello I’m Vicky You don't need expensive materials or professional training; with simple tools and this easy-to-follow guide, you can create your beautiful art pieces. Let's go!
為什麼選擇樹脂藝術?Why Choose Resin Art?
樹脂藝術獨特的透明和深度效果讓你的作品顯得立體,可以加入各種裝飾元素如乾燥花、貝殼和亮片。
Resin art is unique because of its transparent and deep effects, making your artwork come alive. You can embed various decorative elements like dried flowers, shells, and glitter, creating durable, versatile, functional, and beautiful pieces.
必備工具和材料 Essential Tools and Materials
- 20CM白色帆布油畫框 Canvas
- 深藍色、深綠色和天藍色Acrylic顏料 Deep Blue, Deep Green, and Sky Blue Acrylic
- 電子磅和紙杯 Digital Scale and Paper Cups
- 環氧樹脂A及B組(1:1比例混合) Epoxy Resin
- 顏料粉(藍色和綠色)Blue and Green Powders
- 透明小杯 small cups
- 沙子*貝殼(裝飾用) sand and shells
- 熱風槍 heat gun
- 雪條棍 sticks
步驟一:上色 Painting the Canvas
首先,在油畫框上進行基本構圖。將海洋部分佔約2/3,剩餘部分為沙灘區域。選用深藍色、深綠色和天藍色的Acrylic顏料在帆布上進行上色,等待顏料完全乾透,大約需要一天時間。
First, sketch the basic layout on your canvas. The ocean portion should take up about two-thirds of the canvas, with the remaining part as the beach area. Use deep blue, deep green, and sky blue acrylic paints to color the ocean and let it dry completely, which usually takes a day.
步驟二:準備環氧樹脂 Preparing the Epoxy Resin
使用電子磅精確測量環氧樹脂A和B,按1:1的比例混合均勻,然後倒入透明小杯中。加入藍色和綠色的顏料粉,攪拌至完全融合,確保每個顆粒都充分溶解在樹脂中。
Next, a digital scale is used to measure precisely equal parts of epoxy resin A and B and mix them thoroughly in a paper cup according to the 1:1 ratio. Pour the mixed resin into clear small cups and gradually add blue and green pigment powders, stirring until fully combined.
步驟三:添加樹脂和沙子 Applying Resin and Sand
將混合好的彩色環氧樹脂倒在已上色並乾透的帆布上的海洋部分。確保樹脂填滿所有空隙,使每個角落都能展現出美麗的顏色。接下來,沙與另一部分環氧樹脂混合,然後均勻地塗抹在沙灘區域,模擬真實的沙灘效果。
Pour the mixed-colored resin onto the painted, dry canvas in the ocean area. Ensure the resin covers all spaces, showcasing beautiful colors. Mix sand with a separate portion of epoxy resin for the beach area, and apply this mixture evenly to mimic a realistic beach texture.
步驟四:製作浪花 Creating the Waves
在海洋和沙灘交界處,加上一道白色的環氧樹脂線,用熱風槍慢慢吹開,使其形成自然的浪花效果。記住,用熱風槍時要緩慢而穩定,這樣才能讓浪花更有層次感,看起來更加生動自然。
At the junction of the ocean and beach, add a line of white epoxy resin. Then, use the heat gun to blow the resin and form natural-looking waves gently. Move the heat gun slowly and steadily to create layered, realistic wave effects.
步驟五:第二層浪花 Adding Second Layer of Waves
等待第一層樹脂完全乾透後(通常需要一晚),我們可以開始第二層浪花的製作。這次使用透明藍色的顏料,同樣將顏料與樹脂混合後倒在底層,然後用雪條棍輕輕推開樹脂,重新打造浪花效果。再次使用熱風槍,注意保持速度一致,以免破壞之前的造型。
After the first resin layer has completely dried (which usually takes overnight), you can start creating the second layer of waves. This time, use transparent blue pigment mixed with epoxy resin. Use a popsicle stick to spread it evenly on top of the first layer. Use the heat gun again to form the waves, keeping a steady pace to avoid disrupting the previous layers.
步驟六:裝飾和完成 Decorating
等待第二層浪花完全乾透後(通常需要過夜),我們來進行最後的裝飾。在沙灘部分隨意放置一些貝殼或其他小裝飾,以增強作品的真實感和美觀。用少量環氧樹脂固定貝殼,使其穩固不脫落。
Once the second layer is thoroughly dry, add some final decorations. Place shells or other small embellishments on the beach area to enhance the realism and appeal of your piece. Secure them with a small amount of epoxy resin to ensure they stay fixed.
同時,你也可以用雪條棍輕輕調整樹脂的細節,確保每個角落都達到理想效果。如果想再提升作品層次,可以再添加一層透明的環氧樹脂,這樣會讓整體效果更為立體和光滑。
You can also use the popsicle stick to make minor resin adjustments, ensuring every part of your artwork achieves the desired effect. If you want to give your piece an extra glossy finish, consider adding a clear coat of epoxy resin over the entire surface once all layers are dry. This will make the overall appearance more polished and vibrant.
創作樹脂藝術不僅讓你發揮創意,更能讓你的生活充滿樂趣和療愈的時光。希望這篇指南能夠幫助你順利踏上樹脂藝術的創作之旅,創造出獨特而美麗的海洋藝術作品。 如果你喜歡我的分享,請記得訂閱我的YouTube頻道Flourisart 藝術療愈
,這裡有更多關於環氧樹脂藝術的教學視頻和靈感分享。此外,歡迎你在下方留言,分享你的創作經驗和心得,我期待看到你的作品並與你交流!
Creating resin art unleashes your creativity and brings joy and therapeutic moments to your life. This guide helps you embark on your resin art journey, enabling you to create stunning ocean art pieces that reflect your unique style.
If you enjoyed my tutorial, please remember to subscribe to my YouTube channel, Flourisart 藝術療愈, for more epoxy resin art tutorials and inspiration. Feel free to leave comments below to share your experiences and projects. I look forward to seeing your creations and connecting with fellow art enthusiasts! Happy creating, and enjoy every moment of this exciting and creative process!